| |
Untitled Document
Proper acclimation is the key to successful introduction of new aquarium arrivals. The Floating Method is undoubtedly the most widely practiced method among hobbyists. However, a more exact method of acclimation provided by the Drip Method
is required for fish, corals or invertebrates sensitive to sudden changes in water chemistry.
Why Acclimate?
The reason why acclimation is necessary is simple: the chemical makeup of the water in which the aquatic life is packaged is different from your aquarium water chemistry (i.e. water temperature, pH, and salinity). Aquatic life such as fish,
and especially invertebrates (including corals), are very sensitive to even minor changes in water chemistry. The goal of acclimation is to gradually introduce your new aquatic life to the water chemistry found in your aquarium at a controlled
rate to avoid distress.
The acclimation process is complete when equilibrium is reached, where the temporary container housing new arrivals shares the same water chemistry as your aquarium, and your new arrival appears adjusted to these conditions. Since different
species have varying levels of tolerance, different methodologies are required to control the rate of change experienced during the acclimation process.
LiveAquaria® recommends employing the Floating Method or the Drip Method of acclimation. The Floating Method of acclimation, where aquarium water is added to the floating bag in 1/2 cup increments, is a great choice when
acclimating most types of aquarium fish. However, for more sensitive fish, invertebrates, and corals, it is recommended to employ the Drip Method of acclimation. Keep in mind, no matter which acclimation method you choose, be sure to take
your time and never rush the process.
Please Note: Acclimation procedures must be followed for all new arrivals in order to be covered under our 7-Day “Arrive Alive, Stay Alive®” and 30-Day Guarantees.
Floating Method
1
Turn off aquarium lights.
2
Dim the lights in the room where your specimen bags will be opened. (Severe stress or trauma may result from sudden exposure to bright light.)
3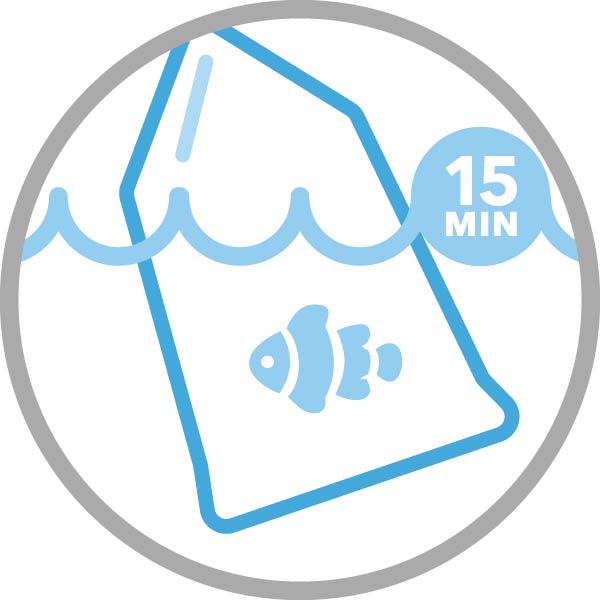
Float the sealed bag in your aquarium for 15 minutes. This allows the water in the specimen bag to adjust slowly to the temperature in the aquarium.
4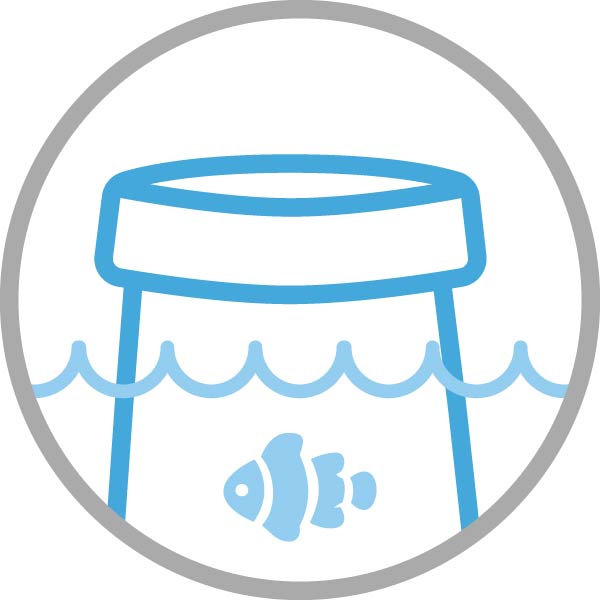
After 15 minutes, cut open the bag just under its closure and roll the top edge of the bag down one inch to create an air pocket within the lip of the bag. This will enable the bag to float on the surface of the water.
5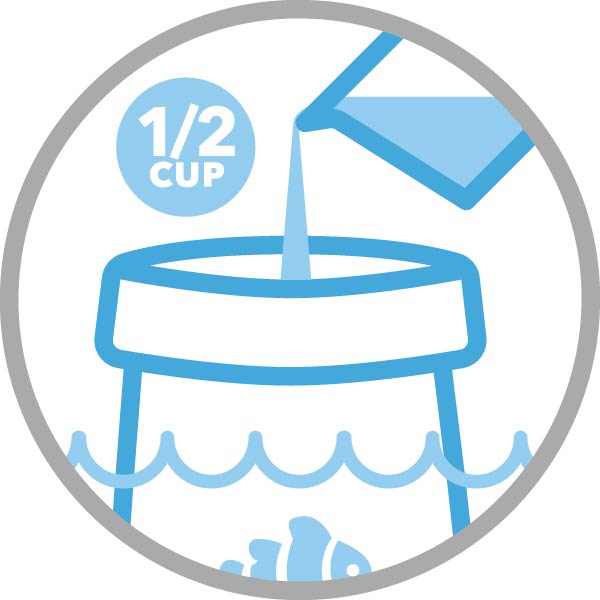
Add 1/2 cup of aquarium water to the bag.
6
Repeat Step 5 every four minutes until the bag is full.
7
Lift the bag from the aquarium and discard half the water from the bag.
8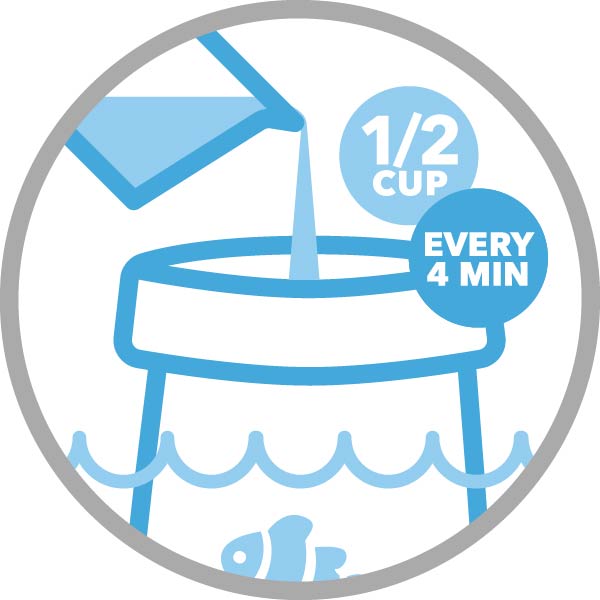
Float the bag in the aquarium again and proceed to add 1/2 cup of aquarium water to the bag every four minutes until the bag is full.
9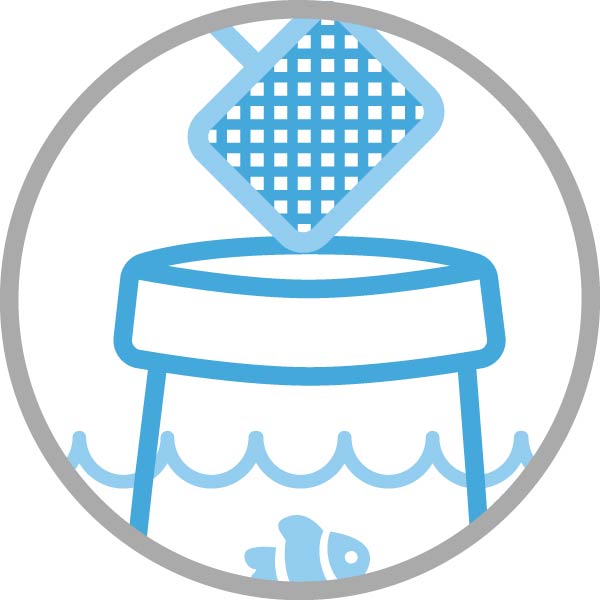
Net aquatic life from the bag and release into the aquarium.
10
Remove the filled bag from the aquarium and discard the water. Never release enclosed water directly into the aquarium.
11
Keep your aquarium lights off for at least four hours after the specimens are introduced into the aquarium to help them further adjust.
Drip Method
The Drip Method is considered more advanced. It is geared toward sensitive aquatic life such as snails, corals, shrimp, sea stars, wrasses, and discus. You'll need a drip acclimation kit (sold separately) and must be willing to monitor the
entire process. Gather a clean, 3- or 5-gallon bucket designated for aquarium use only. If acclimating both fish and invertebrates, use a separate bucket for each.
1
Turn off aquarium lights.
2
Dim the lights in the room where your specimen bags will be opened. (Severe stress or trauma may result from sudden exposure to bright light.)
3
Float the sealed bag in your aquarium for 15 minutes. This allows the water in the specimen bag to adjust slowly to the temperature in the aquarium.
4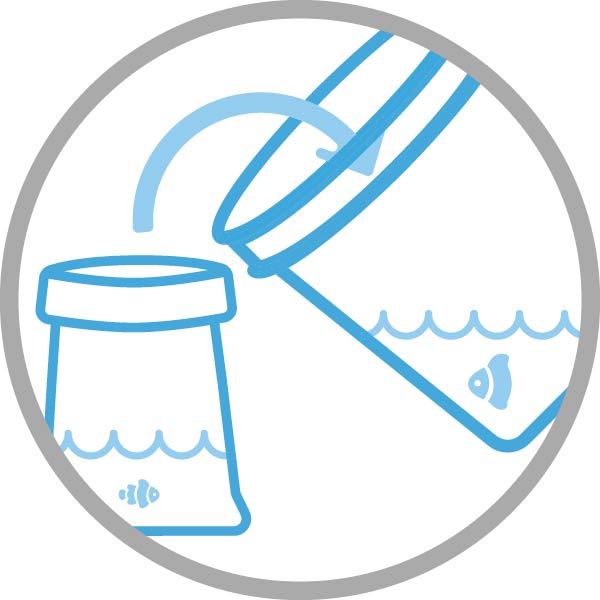
Carefully empty the contents of the bags (including the water) into the buckets, making sure not to expose sensitive invertebrates to the air. Depending on the amount of water in each bag, this may require tilting the bucket at a 45-degree
angle to make sure the animals are fully submerged. You may need a prop or wedge to help hold the bucket in this position until there is enough liquid in the bucket to put it back to a level position.
5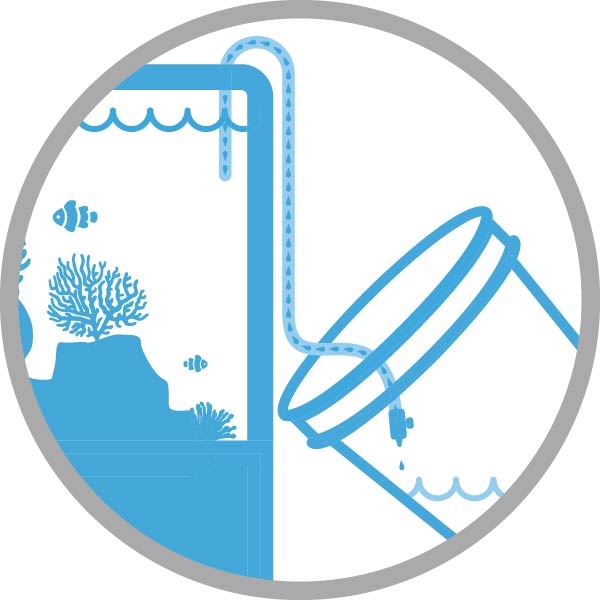
Use the acclimation kit to set up and run a siphon drip line from the main aquarium to the bucket. You’ll need separate kits for each bucket used. The rigid tubing will sit over the trim of most glass aquariums. Use the enclosed valve
to regulate flow from the aquarium into the bucket.
6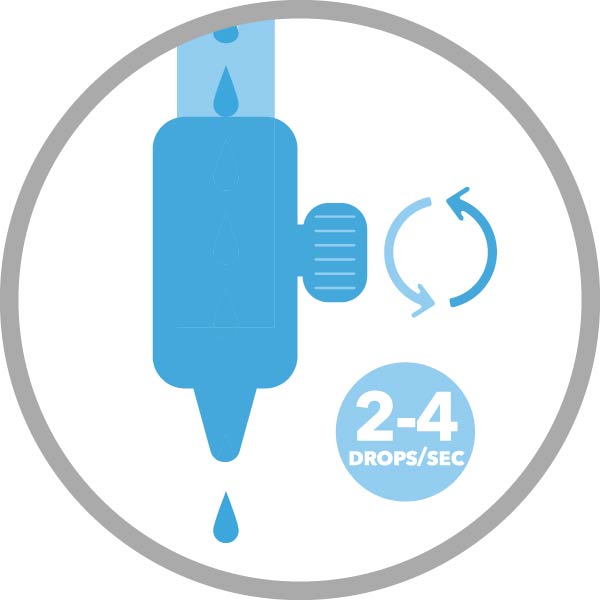
Begin a siphon and when water begins flowing through the tubing, adjust the drip rate using the control valve to a rate of about 2-4 drips per second. Water volume in bucket will double about every 1/2 hour.
7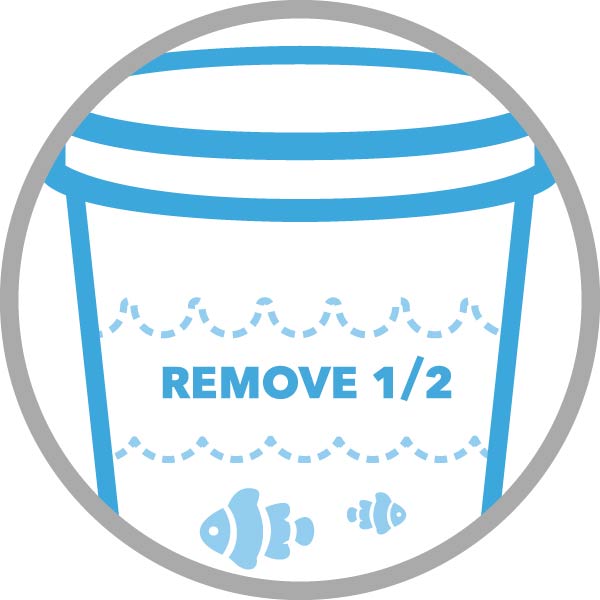
When the water volume in the bucket doubles, discard half and continue the acclimation process until the volume doubles once more – about one hour.
8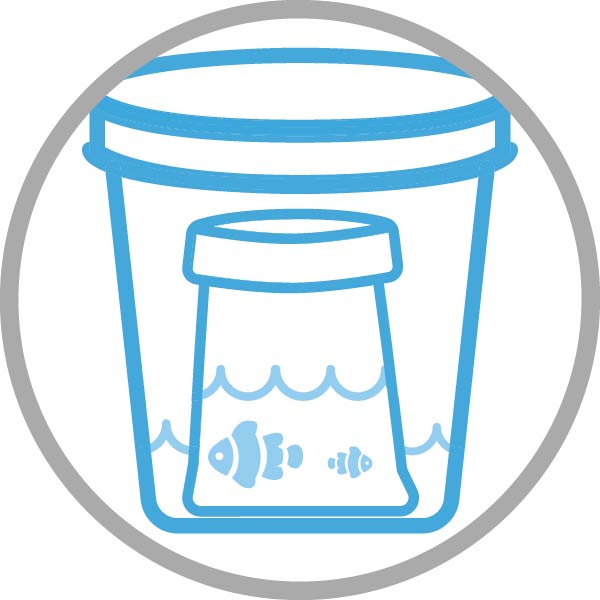
At this point, the specimens can be transferred to the aquarium. Sponges, clams, and gorgonians should never be directly exposed to air. Gently scoop them out of the drip bucket with the specimen bag, making sure they’re fully covered
in water.
8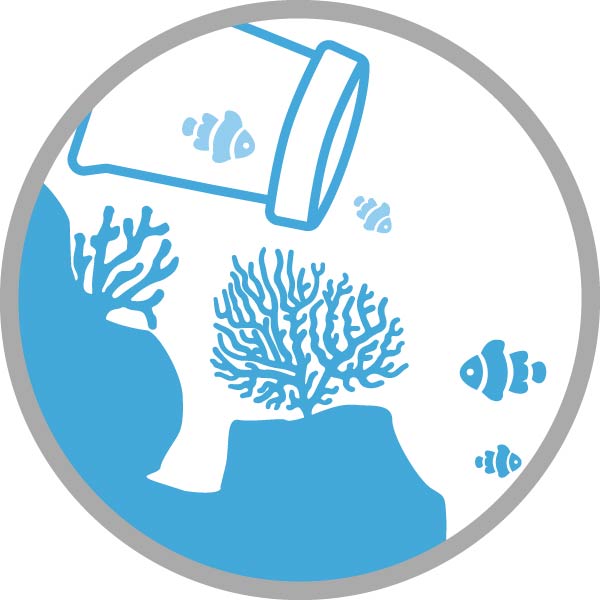
Submerge the bag underwater in the aquarium and gently remove the specimen from the bag. Next, seal off the bag underwater by twisting the opening, and remove it from the aquarium. Discard both the bag and the enclosed water. A tiny
amount of the diluted water will escape into the aquarium; this is okay. Also, to avoid damage, please remember never to touch the "fleshy" part of live coral when handling.
10
Keep your aquarium lights off for at least four hours after the specimens are introduced into the aquarium to help them further adjust.
Note: Most invertebrates and marine plants are more sensitive than fish to changes in specific gravity. It is imperative to acclimate invertebrates to a specific gravity of 1.023-1.025 or severe stress or trauma may result.
Test specific gravity with a hydrometer or refractometer.
Important Tips:
- Be patient – never rush the acclimation procedure. The total acclimation time for your new arrival should take no longer than two hours.
- Always follow the acclimation procedure even if your new arrival appears to be dead. Some fish and invertebrates can appear dead when they arrive and will usually revive when the acclimation procedure is followed correctly.
- Never place an airstone into the shipping bag or bucket when acclimating your new arrival. This will increase the pH of the shipping water too quickly and expose your new arrival to lethal ammonia.
- Keep aquarium lights off for at least four hours after the new arrival is introduced into the aquarium.
- Most invertebrates and marine plants are more sensitive than fish to changes in specific gravity. Please acclimate invertebrates to a specific gravity of 1.023-1.025 or severe stress or trauma may result.
- Some live corals produce excess slime when shipped. After the acclimation procedure is followed, hold the coral by the rock or skeletal base and gently shake the coral in the shipping bag before placing into the aquarium. To avoid damage,
please remember never to touch the "fleshy" part of a live coral. Many species of coral will not open for several days after introduction into their new home.
In some instances, a new tank mate will be chased and harassed by one or all of your existing tank mates.
Solution 1: A clean plastic spaghetti strainer (found at your local discount store) can be used to contain a tank bully within the aquarium for several hours until the new arrival adjusts to its surroundings. Just float the
perforated plastic basket in the aquarium. Net the tank bully and place in the floating basket for approximately four hours while the new arrival adjusts to your aquarium. Never place the new arrival in this basket; the new specimen must
get familiar with your aquarium. By placing the tank bully in a perforated basket, you’ll reduce the stress on the new arrival.
Solution 2: A perforated plastic lighting grid can be purchased at the local hardware store to cut down the width of your aquarium. This grid may be used to section off a small portion of the aquarium to separate territorial
or aggressive fish from the newest tank mate.
We Highly Recommend
Though not a requirement of our acclimation procedures, LiveAquaria® highly recommends you quarantine all aquatic life in a separate aquarium for a period of two weeks to minimize stress, observe signs of potential pathogens,
and to properly condition your aquatic life prior to introduction into your main display aquarium. For more information on quarantining, please refer to our articles & information resource: “Quarantine Tank: Manage Fish & Coral Health”.
Planting Freshwater Aquarium Plants
Plant Pond or Water Garden Plants
|